Window Well Wonders: How to Dig and Install Like a Pro
Share
Why Digging a Window Well Transforms Your Basement
Digging a window well is the key to changing your dark basement into a bright, safe living space. Here's what you need to know:
Essential Steps for Digging a Window Well:
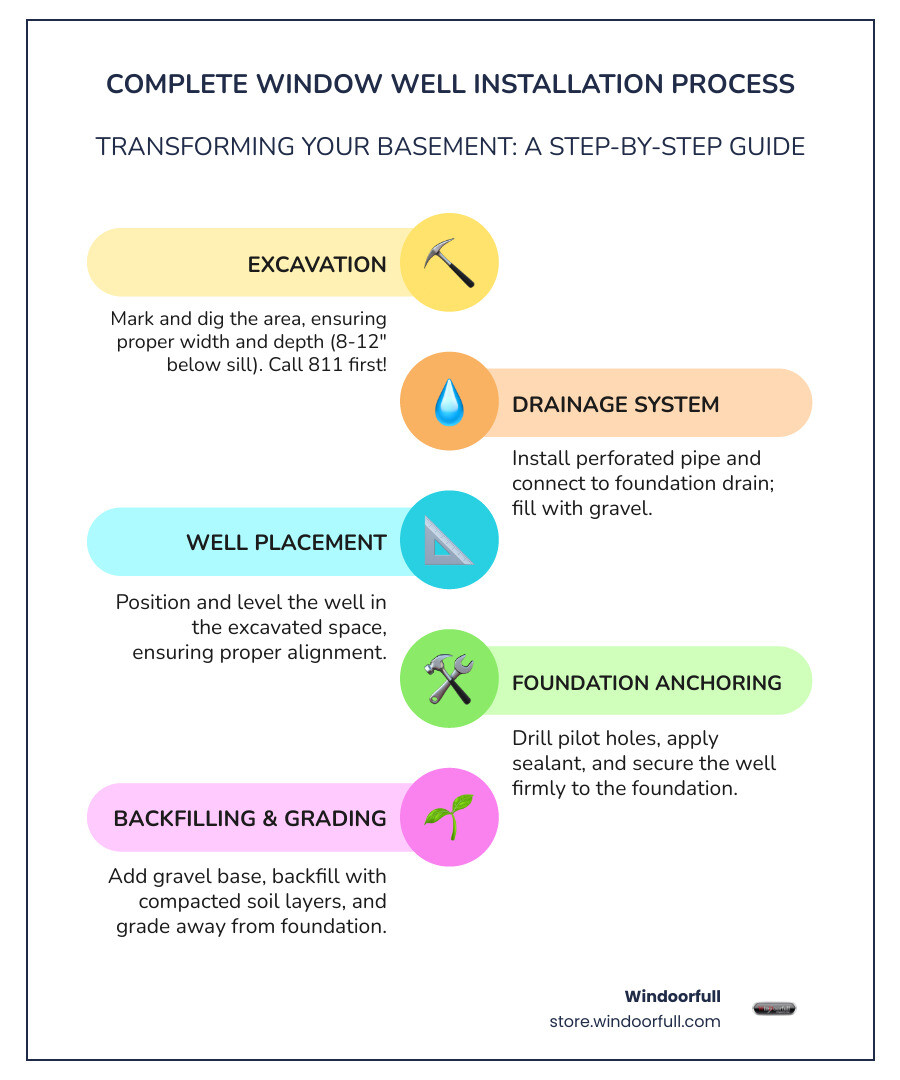
- Call 811 - Mark utility lines before digging
- Size correctly - Dig 6-8 inches wider than your window
- Dig deep enough - Go 8-12 inches below the windowsill
- Install drainage - Use a perforated tube and gravel
- Secure the well - Anchor to foundation with masonry fasteners
- Backfill properly - Use gravel base, then compact soil in layers
Window wells aren't just about letting light into your basement. They're required by building codes for any basement bedroom or living space. The International Residential Code (IRC) mandates that egress windows have at least 9 square feet of well area for emergency exits.
But there's more to it than safety. A properly installed window well can increase your home's value, reduce that "dungeon feeling" in basements, and provide much-needed ventilation. The project might seem overwhelming, but with the right approach, it's absolutely doable for most homeowners.
The benefits are clear:
- Emergency escape route for basement bedrooms
- Natural light that makes basements feel welcoming
- Better air circulation and ventilation
- Increased property value
- Protection for your foundation and windows
I'm Wojciech from Windoorfull, and I've helped countless homeowners upgrade their properties with European-style windows and modern solutions. Through years of working with basement renovations and window installations, I've learned that digging a window well correctly the first time saves money and prevents water damage later. Let me walk you through the complete process so you can tackle this project with confidence.
Before You Break Ground: Planning and Preparation
Think of this phase as the blueprint for your success. I've seen too many homeowners jump straight into digging, only to realize they're missing crucial measurements or materials halfway through. Trust me, spending an extra hour planning now will save you a full day of headaches later.
The beauty of proper preparation is that it transforms what seems like an overwhelming project into manageable steps. We'll measure everything twice, understand what the building codes actually require, and gather all our tools so we're not making multiple trips to the hardware store.
Sizing Your Window Well Correctly
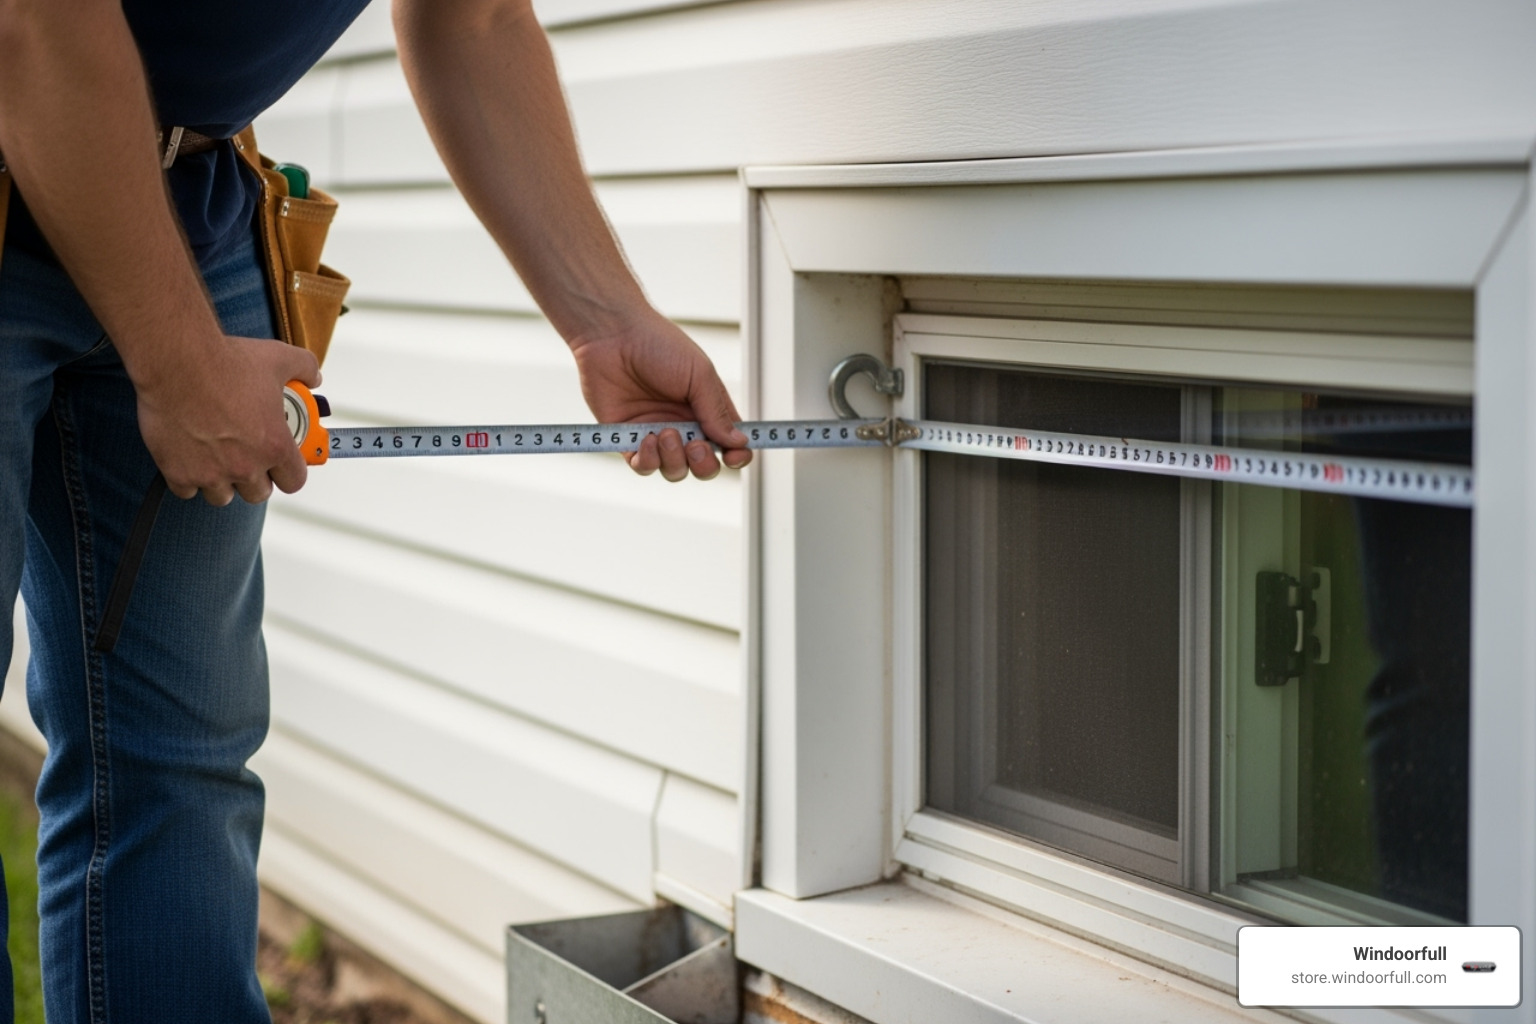
Getting the size right is absolutely critical when digging a window well. I always tell homeowners to measure their window first, then add some breathing room. Your well needs to be larger than the window itself to function properly.
Here's the simple rule I follow: add at least 6 inches to the width and 8 inches to the height of your existing window. So if you have a 24-inch wide by 36-inch tall window, your well should be at least 30 inches wide by 44 inches tall. This extra space ensures the well sits comfortably around the window frame.
For egress windows, the rules get more specific. The International Residential Code requires a minimum of 9 square feet of well area with at least 36 inches of horizontal projection. These aren't just arbitrary numbers – they ensure someone can actually climb out through the window in an emergency.
The depth matters too. Plan to dig 8-12 inches below your windowsill to allow proper drainage and prevent water from pooling against your foundation. This extra depth is what separates a professional installation from a DIY disaster waiting to happen.
Navigating Building Codes and Egress Requirements
Building codes might seem intimidating, but they're really just safety guidelines that protect you and your family. The IRC standards are your roadmap for doing this project right the first time.
The most important rule to remember: your window sill can't be more than 44 inches from the basement floor. This ensures people can actually reach the window without needing a ladder inside the room. If your well ends up deeper than 44 inches, you'll need to install a permanent ladder with specific spacing requirements.
Here's where many homeowners get confused about permits. While not every jurisdiction requires permits for standard window wells, any well intended for emergency escape will need approval. I always recommend calling your local building department first. A quick phone call can save you from having to redo work later.
The good news is that modern tilt and turn windows from Windoorfull make meeting egress codes much easier. Their full-opening design means you often need a smaller foundation opening to achieve the same escape space compared to traditional sliding windows. It's like getting extra credit on your building code exam.
For the complete technical requirements, check the International Residential Code (IRC) requirements to ensure your project meets all standards.
Gathering Your Tools and Materials
Nothing kills project momentum like realizing you need to make another hardware store run. I've learned to gather everything upfront, and I mean everything.
Your measuring arsenal needs a good tape measure, both long and short levels for accuracy, and spray paint or chalk for marking your dig area. For the actual excavation, grab a sturdy digging shovel, a spade for detail work, and either a wheelbarrow or heavy-duty tarp for moving all that dirt.
The drilling and fastening tools include a hammer drill, masonry bits in multiple sizes, and a socket wrench or impact driver. Don't forget the safety gear – safety glasses, heavy-duty gloves, and work boots aren't optional equipment.
For materials, you'll need your prefabricated window well (sized according to our earlier measurements), plenty of gravel for drainage, a perforated drain tube that's 4-5 inches in diameter, and a drain cap to prevent clogging.
The connection hardware is crucial: polyurethane caulk for sealing the well to your foundation, masonry anchors (typically 1/4 inch x 1-1/4 inches), and a caulk gun to apply everything properly.
I always recommend picking up a window well cover while you're shopping. It's not technically required for the installation, but it'll keep debris out and add an extra layer of safety. Think of it as insurance for your investment.
Having everything ready before you start digging transforms this from a multi-weekend ordeal into a focused, efficient project. Your future self will thank you for the preparation.
The Ultimate Guide to Digging a Window Well
This is where things get exciting! The excavation and drainage installation form the heart of your digging a window well project. I won't sugarcoat it - this is the most physically demanding part, but it's also where you'll see your hard work literally take shape in the ground.
Safety First: The Most Important Step
Let's start with something that could save your life, your wallet, and a whole lot of embarrassment. Before you even think about breaking ground, you absolutely must call 811 - the national "Call Before You Dig" hotline. Make this call three to five business days before you plan to start digging.
This free service connects you with local utility companies who will come out and mark the approximate locations of underground lines. We're talking about electrical cables, gas lines, water pipes, and telecommunications equipment. Trust me, hitting a gas line isn't just dangerous - it's potentially deadly and incredibly expensive to repair.
The utility markings are typically good for about ten days, so plan your timeline accordingly. While you're waiting for the markers to arrive, gather your personal protective equipment. You'll need safety glasses (especially crucial when drilling into concrete), heavy-duty gloves to prevent blisters and cuts, and sturdy work boots for stability and foot protection.
Don't forget long pants and sleeves to protect against scrapes and sun exposure. If you're renting a mini excavator for larger jobs, make sure you know how to operate it safely and consider laying down plywood to protect your lawn.
Call 811 for free utility marking
Step-by-Step Excavation for Digging a Window Well
Now comes the moment of truth - actually digging a window well. Roll up your sleeves because this is where the real workout begins!
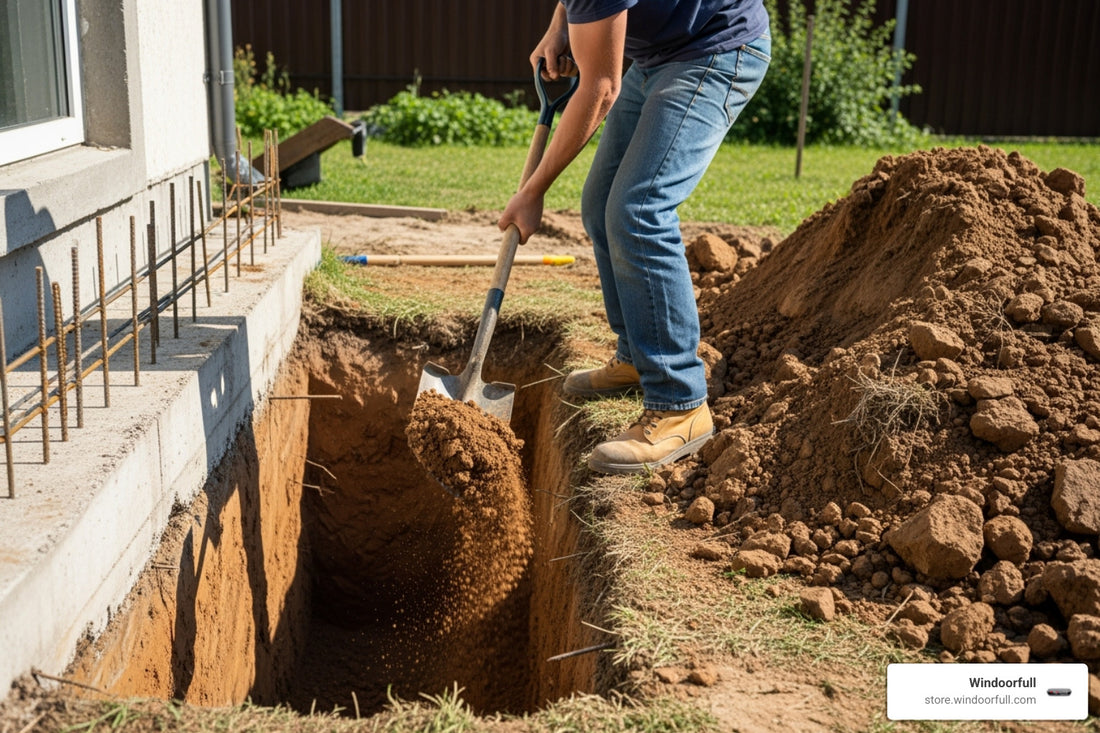
Start by marking your dig area using your tape measure and spray paint or marker. Here's the key measurement: your excavation needs to be 12 inches larger than the window well itself on all sides. So if you're installing a 40-inch wide well, you'll need to dig a hole that's 52 inches wide. This extra space gives you room to maneuver and properly secure the well to your foundation.
Position your dig area starting about six inches out from the exterior wall where your window sits. This ensures the well will sit properly against the foundation without interfering with the window frame.
Determining the right depth is crucial for both drainage and appearance. You need to dig deep enough to accommodate the window well itself, plus a 2-3 inch gravel base, and potentially drain components. The bottom of your excavated hole should extend 8-12 inches below the windowsill. This depth ensures proper water collection and drainage while keeping the top of the installed well about 3 inches above your final grade line.
Begin digging systematically, starting from one corner and working your way across. Keep a wheelbarrow or heavy-duty tarp nearby to collect the excavated soil - trust me, this makes the job much cleaner and easier. You can use this soil later for backfilling, or you might need to haul some of it away if you have excess.
If there's any chance of rain during your project, keep a tarp handy to cover the hole. Nothing's worse than dealing with muddy, collapsed hole sides when you're trying to work.
Installing a Bulletproof Drainage System
Here's where we prevent your beautiful new window well from turning into a miniature swimming pool. Poor drainage is the number one cause of window well problems, leading to water seepage, foundation damage, and mold growth. Let's make sure that never happens to you.
The drain's job is simple but critical - it prevents water from accumulating in your window well by giving it somewhere to go. Without proper drainage, hydrostatic pressure can build up against your foundation, potentially causing expensive water damage inside your basement.
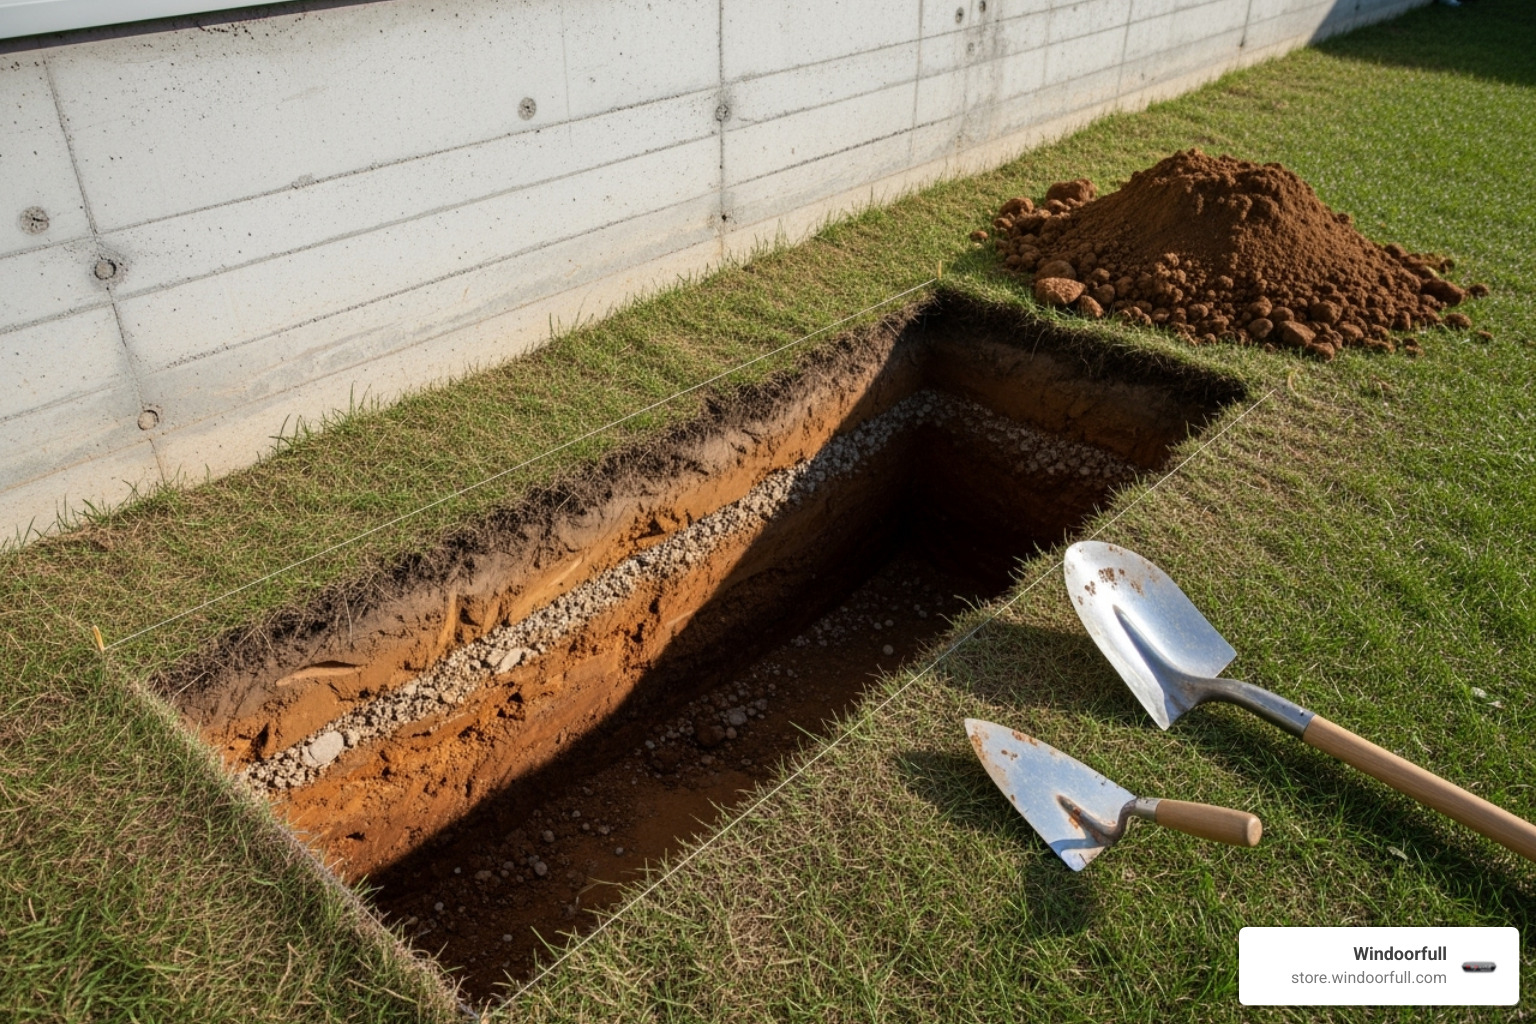
Start by boring the drain hole using your auger in the center of your excavated area. Work slowly, going about one foot at a time. You're aiming to reach the gravel layer beneath your foundation, which typically connects to your home's existing drainage system. If you don't have an existing foundation drainage system, you'll need to dig deeper to create adequate drainage with plenty of gravel.
Install your perforated drain tube next. Measure the depth of your augered hole and cut a 4-5 inch diameter perforated tube to fit. This tube becomes your main water highway, channeling moisture away from your window well.
Top it with a drain cap or grate to keep leaves, debris, and curious critters from clogging your system. Nothing ruins good drainage like a plugged drain full of maple leaves!
Pack gravel around the tube using #57 stone or pea gravel. Fill the space between the tube and the hole walls, packing it down until it's level with your drain cap. This gravel acts as a filter and provides stability for the entire drainage system.
If your window well drain isn't connected to your foundation's drainage system, proper gravel placement becomes even more important. In these situations, I strongly recommend investing in a quality window well cover to minimize the amount of rainwater entering the well in the first place.
Keep an eye out for signs of drainage problems down the road. If your window well starts filling with water from below ground level, it could signal larger foundation waterproofing issues or problems with your home's overall drainage system. When in doubt, consult with a professional - it's much cheaper than dealing with basement flooding later!
Installation: Securing the Well and Finishing the Job
Now comes the rewarding part! With your hole perfectly excavated and drainage system installed, it's time to secure that window well and put the finishing touches on your project. These final steps make all the difference between a professional-looking installation and one that might cause problems down the road.
Mounting the Well to Your Foundation
Here's where precision really matters. A window well that isn't properly secured to your foundation is like a ticking time bomb – it will eventually shift away from the house, creating gaps that invite water straight into your basement. Trust me, you don't want to find this problem during the next heavy rainstorm!
Start by test fitting the well in your excavated hole. Lower it carefully into position and check that it's centered around your window with about three inches of clearance on each side. This is your chance to make any final adjustments to the hole size or depth.
Next, grab your level and make sure the well sits perfectly straight. An uneven well not only looks unprofessional but can also cause drainage issues. Take your time here – a few extra minutes of adjustment now can save hours of frustration later.
With the well positioned correctly, it's time to mark your drill holes. Most prefabricated wells come with mounting flanges that have predrilled holes. Use a marker to transfer these hole locations onto your foundation wall. The flanges should be attached at 12-inch centers minimum to ensure rock-solid stability.
Remove the well and switch to your hammer drill with a masonry bit. Drill pilot holes about 2 inches deep at each marked location. Don't forget those safety glasses – concrete chips have a way of finding unprotected eyes!
Before securing the well permanently, apply a generous bead of polyurethane caulk along the foundation where the well will make contact. This non-self-leveling sealant creates a watertight barrier that prevents water from sneaking between the well and your foundation.
Finally, position the well one last time and secure it with masonry anchors (typically 1/4 inch x 1-1/4 inches with large fender washers). Tighten them firmly with your socket wrench, ensuring the well remains level and sits flush against the foundation.
The Art of Backfilling and Final Grading
Backfilling might seem like the easy part – just throw the dirt back in, right? Not quite! Proper backfilling is what separates a professional installation from one that will settle, shift, or cause drainage problems within a few seasons.
Inside the well itself, start by adding a 2-3 inch gravel base. Spread #57 stone or pea gravel evenly across the bottom and pack it down firmly. This gravel layer is crucial for drainage, but here's the key detail many DIYers miss: keep that gravel at least one inch below your windowsill. Ideally, aim for four inches or more of clearance. Water splashing up from gravel that's too high can find its way into your basement.
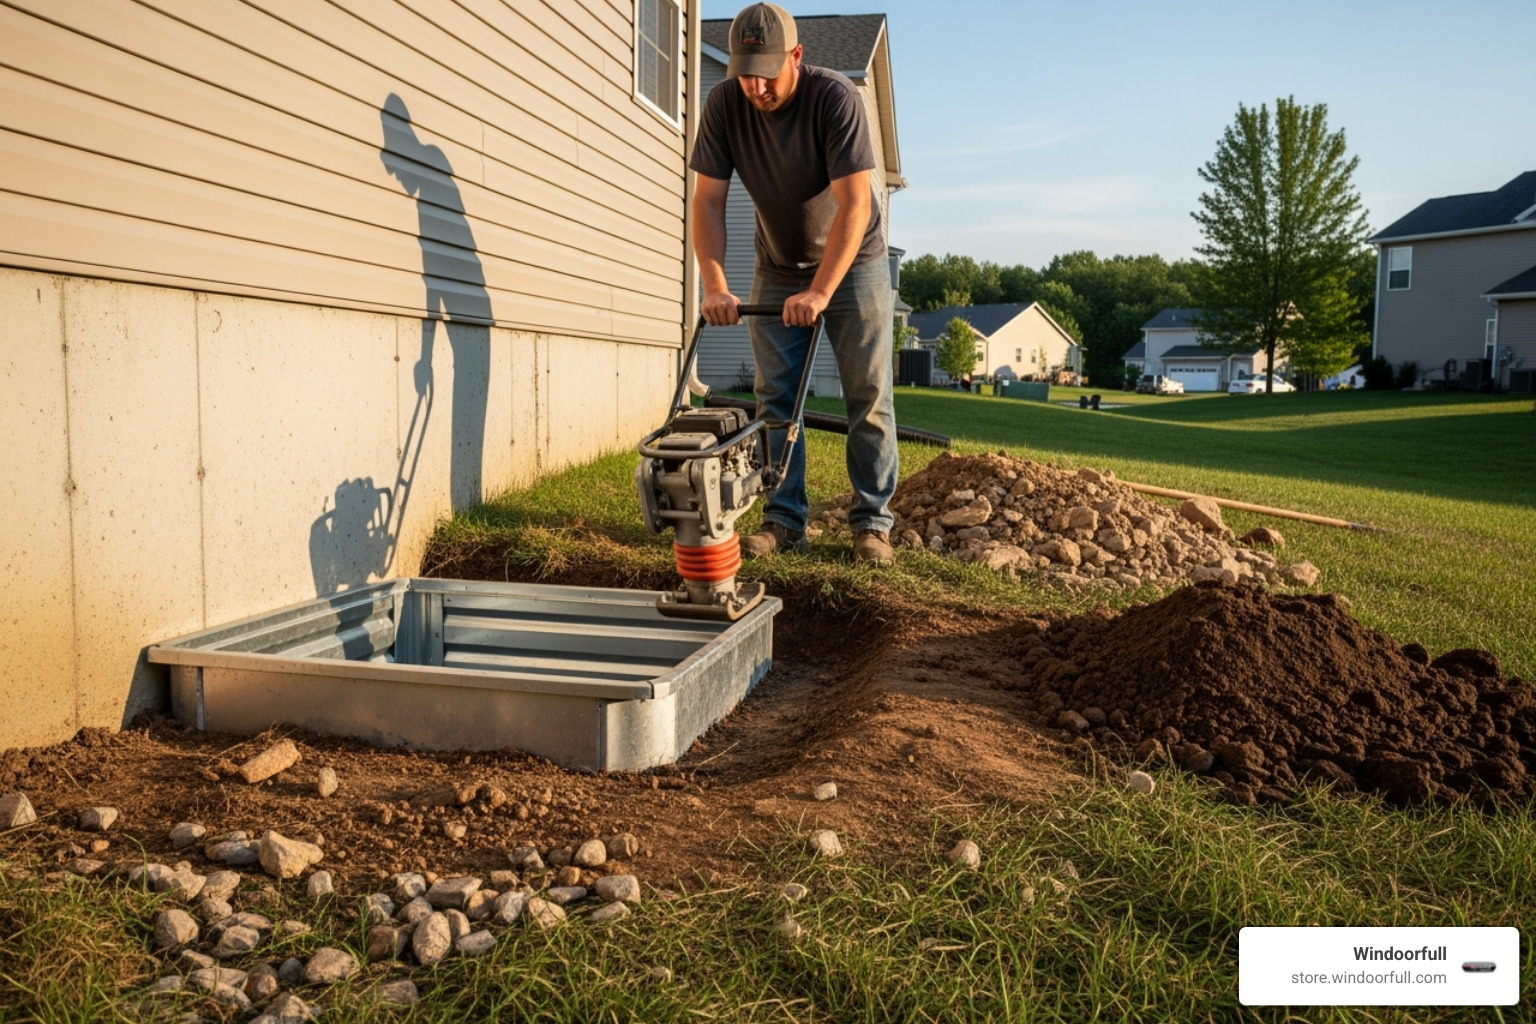
Now for the backfilling around the exterior of the well. This isn't a dump-and-run operation. Backfill in 12-inch layers, tamping each layer thoroughly with a hand tamper or the flat end of your shovel. This compaction prevents future settling that could cause your well to shift or create depressions that collect water.
The final step is creating proper grade around your installation. Shape the soil so it slopes away from both the foundation and the window well at a minimum of one inch per foot. This positive drainage ensures surface water flows away from your home rather than pooling around your beautiful new window well.
Remember to leave the well lip about 3 inches above grade. It might be tempting to bury it flush with the ground for a cleaner look, but that lip acts as a dam, preventing surface water and debris from washing into the well.
Take a step back and admire your work – you've just completed a project that will brighten your basement, increase your home's value, and provide essential safety benefits for years to come!
Frequently Asked Questions
I get these questions all the time from homeowners tackling their first digging a window well project. Let me share the answers that will help you make smart decisions and avoid costly mistakes.
What are the best materials for window wells?
Choosing the right material for your window well can make or break your project. I've seen homeowners struggle with this decision, so let me break down your options based on real-world performance.
Galvanized steel is probably what you'll find at most home improvement stores. It's strong and handles soil pressure well, but here's the catch - it will rust eventually. The galvanized coating protects it for years, but once that wears through (especially at cut edges or scratches), you're looking at rust stains and potential structural issues down the road.
Plastic and composite wells have become my go-to recommendation for most DIY projects. They're lightweight, which makes installation much easier when you're working alone. More importantly, they'll never rust or corrode. Many are designed to look like stone or concrete, so you don't sacrifice appearance. The trade-off? They're not quite as rigid as steel, but for typical residential applications, they perform beautifully.
Concrete wells are the tanks of the window well world. They'll outlast everything else and won't budge once they're in place. The downside is weight - you'll likely need help or equipment to position them properly. They're also the most expensive option upfront.
Fiberglass wells offer excellent durability with less weight than concrete. They resist both rust and UV damage when properly manufactured. Think of them as the middle ground between plastic and concrete.
Here's how they stack up:
| Material | Durability | Cost | Rust Resistance |
|---|---|---|---|
| Galvanized Steel | High | Moderate | Low (prone) |
| Plastic/Composite | Moderate | Low | High |
| Concrete | Very High | High | High |
| Fiberglass | High | Moderate | High |
For most homeowners digging a window well for the first time, I recommend plastic or composite. They're forgiving to work with, won't rust, and give you the best bang for your buck.
What are common problems to avoid when digging a window well?
After helping countless homeowners with window well projects, I've seen the same mistakes repeated over and over. Let me save you from these headaches.
Never, ever dig without calling 811 first. I can't stress this enough. Hitting a gas line or electrical cable isn't just expensive - it's dangerous. One phone call three business days before you dig prevents disasters.
Sizing mistakes are surprisingly common. I've seen wells that look great but fail egress inspections because they're too small. 9 square feet minimum area and 36-inch projection for egress wells. Measure twice, dig once.
Poor drainage turns your beautiful window well into a basement flooding nightmare. The most common drainage problems I see are no drain at all (water has nowhere to go), clogged drains from skipping the gravel filter, and inadequate gravel depth. If you notice water coming up from below rather than draining down, you might have a high water table issue that requires professional attention.
Skipping the foundation anchoring seems like a small detail, but it's huge. Soil pressure will eventually push an unsecured well away from your foundation, creating a gap that funnels water straight into your basement. Those masonry anchors aren't optional.
Improper backfilling causes problems months or years later. Simply dumping dirt back into the hole creates settling that can crack your well or create water-collecting depressions. Compact in 12-inch layers - it takes extra time but prevents future headaches.
Ignoring building codes can force you to redo the entire project. Egress requirements exist for safety, and inspectors take them seriously. Check your local codes before you start, not after you're done.
The key to avoiding these problems? Take your time with each step. Rushing leads to shortcuts, and shortcuts lead to problems that cost more to fix than doing it right the first time.
How deep should the gravel be in a window well?
The gravel layer is your window well's insurance policy against water problems. Get this wrong, and you might as well skip the drain entirely.
Pour a 2-3 inch layer of gravel at the bottom of your window well. I prefer #57 stone or pea gravel - they drain well without being so fine that they wash away. Pack this gravel down evenly so it creates a stable base.
This gravel serves two critical purposes. First, it filters out fine soil particles that would otherwise clog your perforated drain tube. Think of it as a coffee filter for your drainage system. Second, it creates a reservoir that allows water to quickly move away from the window area and into your drain system.
Here's the crucial part most people miss: keep that gravel at least 4 inches below your windowsill. I've seen too many wells where the gravel comes right up to the window bottom. When it rains, water splashes off that gravel directly onto the window and finds its way inside. That defeats the entire purpose of digging a window well in the first place.
The space between your gravel and the windowsill also ensures your window's weep holes stay clear. These small drainage holes at the bottom of window frames need to function properly to handle condensation and minor water intrusion.
This gravel layer works hand-in-hand with your perforated drain tube. Without proper gravel depth and placement, even the best drainage system will fail over time.
Conclusion: A Brighter, Safer Basement Awaits
You've just completed something truly impressive. From the initial planning stages through digging a window well, installing a bulletproof drainage system, and securing everything with professional-grade techniques, you've transformed what was once a dark basement space into something bright and welcoming.
The change goes far beyond just meeting building codes. You've created a genuine emergency escape route that could literally save lives. That peace of mind alone makes every hour of digging worth it. But there's so much more - the natural light streaming in will make your basement feel like an actual living space instead of a storage dungeon.
The benefits you've achieved are lasting:
- A safe emergency exit that meets IRC egress requirements
- Natural light that completely changes the basement atmosphere
- Better air circulation and ventilation throughout the space
- Increased home value from a properly finished basement
- Professional-grade water management that protects your foundation
Take a moment to appreciate what you've accomplished. This isn't a small weekend project - you've tackled a significant home improvement that many homeowners pay thousands to have done professionally. The sense of accomplishment should feel pretty amazing right about now.
One final safety tip: Install a high-quality window well cover as soon as possible. A good cover protects against debris, keeps children and pets safe from falls, and adds extra insulation during harsh weather. It's a small investment that protects everything you've just built.
Your basement change is nearly complete, but don't forget about the window itself. The right window can make or break your entire project. For high-quality, energy-efficient windows that perfectly complement your new window well, explore the latest European-style options from Windoorfull in our News section. Our tilt and turn windows are specifically designed to meet egress requirements while providing superior energy efficiency.
Congratulations on creating a brighter, safer basement that your family will enjoy for years to come.
