The DIYer's Guide to Aluminium Tilt and Turn Window Installation
Share
Why Aluminium Tilt and Turn Windows Are Worth the DIY Challenge
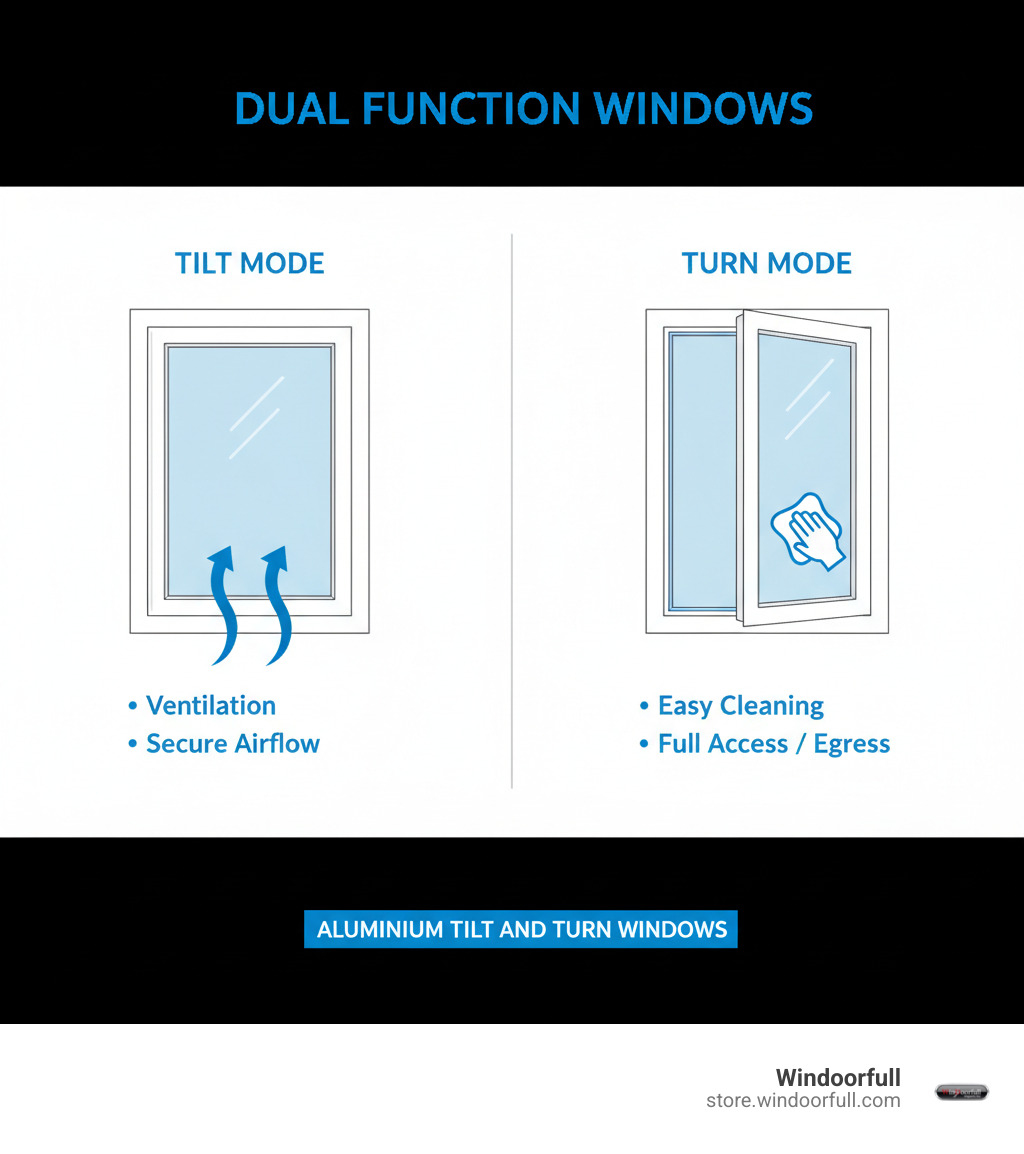
Aluminium tilt and turn windows installation offers homeowners a chance to upgrade to European-style windows that combine modern aesthetics with superior functionality. These innovative windows provide dual operation modes - tilting inward from the top for secure ventilation or turning fully inward like a door for easy cleaning and maximum airflow.
Quick Installation Overview:
- Prepare the rough opening - ensure it's 1/2" to 3/4" larger than the window frame
- Dry-fit and shim the frame - center the window and use shims for proper alignment
- Level, plumb, and square - secure the frame with fasteners without over-tightening
- Install sash and test hardware - ensure both tilt and turn functions operate smoothly
- Seal and weatherproof - apply flashing tape, foam, and exterior-grade caulk
- Final adjustments - test all functions and make hardware adjustments as needed
The real genius of these windows lies in their unique dual functionality. As one industry expert noted, tilt and turn windows can be "securely locked in both the tilted and fully open positions," making them ideal for homes where security and ventilation are equally important.
While aluminium tilt and turn windows are more complex to install than standard windows due to their sophisticated multi-point locking hardware, the benefits are substantial. You'll gain improved security, improved energy efficiency, easier maintenance, and that sleek European aesthetic that's becoming increasingly popular in modern home design.
We've specialized in distributing and installing premium European-style windows for years, with experience in aluminium tilt and turn windows installation projects. This guide will walk you through each step to help you achieve professional results while avoiding the common pitfalls that can compromise your window's performance.

Before You Begin: Essential Prep and Planning
Rushing into an aluminium tilt and turn windows installation without proper prep can lead to frustration and a crooked window. Proper preparation is the foundation for a professional-quality result you'll be proud of for years.

Tools and Materials Checklist
Having the right tools is critical for a smooth aluminium tilt and turn windows installation. You'll need standard equipment plus some specialized items for these precision-engineered windows.
Safety Gear: Always use safety glasses, hearing protection, and sturdy gloves.
Tools: Gather a reliable measuring tape, a long level (4-foot minimum), a power drill with appropriate bits, and a caulking gun.
Materials: You'll need wood or composite shims (composite is better for moisture resistance), low-expansion spray foam, exterior-grade silicone sealant, and corrosion-resistant fasteners. Flashing tape is crucial for directing water away from the opening. Also have a utility knife, rubber mallet, and drop cloths on hand. Organizing your tools and materials beforehand will save time and frustration.
Preparing the Rough Opening
The rough opening must be perfect for the window to look and function correctly.
First, measure the rough opening's width and height in three places, using the smallest measurement as your reference. Check the depth to ensure the frame fits.
Next, use a long level and framing square to confirm the opening is plumb, level, and square. An out-of-square opening will cause binding and poor sealing.
Clean all debris from the opening for proper adhesion of flashing and sealants. Inspect the wood framing for water damage or rot and repair or replace any compromised wood.
The rough opening should be 1/2" to 3/4" larger than the window frame to allow room for shims, insulation, and adjustments.
For more detailed insights into how these sophisticated windows work, check out Beyond the Hinge: Everything You Need to Know About Tilt Turn Windows.
Safety and Lead Paint Awareness
Safety is paramount during an aluminium tilt and turn windows installation. These windows are heavy, especially larger units; always lift with your legs and get help to prevent injury and damage.
If your home was built before 1978, be aware of potential lead-based paint. Disturbing old paint can release hazardous lead dust. Consult the EPA's guidance on lead-safe practices and your local authorities for safe handling and disposal requirements.
Plan for proper disposal of old materials, as construction waste and lead paint may have specific rules. For detailed information on protective equipment, visit this resource on protective gear.
A safe installation is a successful one.
The Step-by-Step Aluminium Tilt and Turn Windows Installation Process
With preparation complete, it's time for the aluminium tilt and turn windows installation. This process requires precision to ensure every piece fits and functions correctly.
Step 1: Dry-Fitting and Shimming the Frame
First, dry-fit the frame to test the placement.

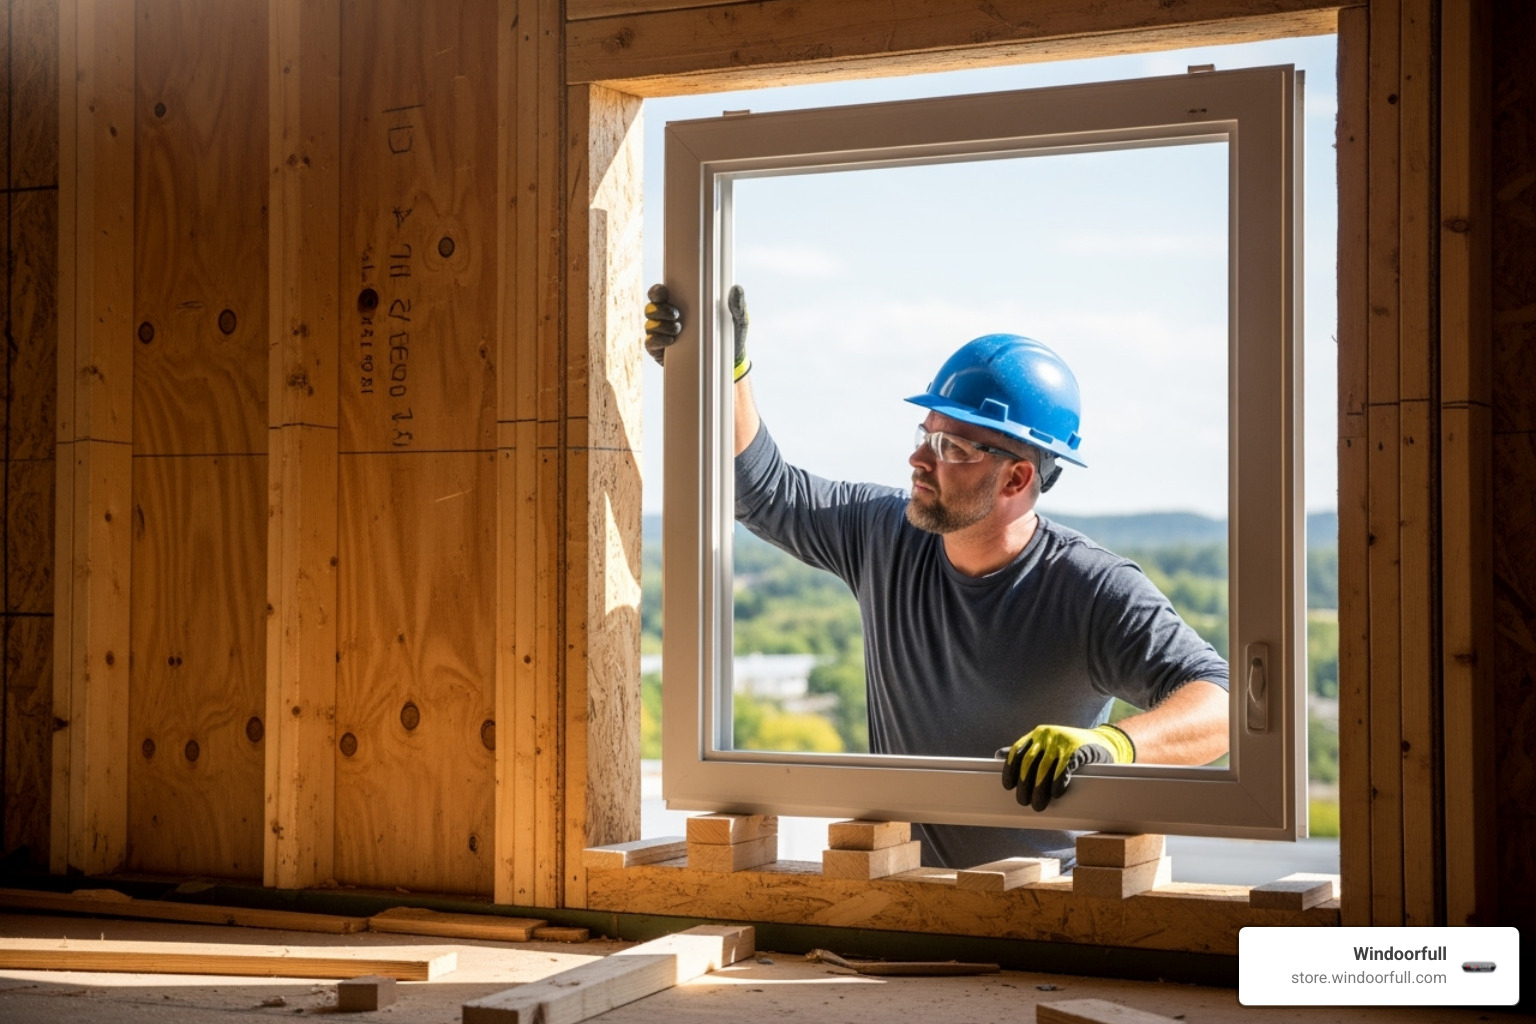
Carefully lift the aluminium window frame into the opening. Remove the sashes first, if possible, to lighten the load. Center the frame to create an even gap on all sides.
A crucial detail is to never set the frame directly on the sill. Instead, place 3/8" to 1/2" thick shims at the bottom, positioned 6-8 inches from each corner and every 12-18 inches in between. This provides a level foundation and allows for drainage. Ensure there are consistent gaps around the frame and adjust its position as needed before proceeding.
Step 2: A Guide to a Perfect Aluminium Tilt and Turn Windows Installation
The complex hardware in tilt and turn windows demands perfect alignment. Use your long level on the bottom of the frame, adjusting the shims until it's perfectly horizontal. A level foundation is critical for smooth operation.
Next, check that the frame is plumb, level, and square. Use the level on the vertical sides and measure the diagonals; they should match within a few millimeters. If not, the frame isn't square and will cause issues.
Add shims to the sides and top near the fastener locations to prevent the frame from bowing. To secure the frame with fasteners, pre-drill pilot holes if recommended. Drive screws through the frame and shims into the wall studs. Avoid over-tightening the screws, as this can distort the aluminium frame and impede function. Tighten until snug, checking the frame's alignment after each screw.
Step 3: Installing the Sash and Hardware
Once the frame is secure, install the moving parts. Carefully lift the window sash (the part with the glass) and attach it to the frame's hinges, following the manufacturer's instructions precisely.
Immediately test the basic operation. Check that the window swings open and tilts inward smoothly without binding. This initial check helps catch alignment issues early.
Next, test the handle, which is the control center. Turn it through all positions (locked, tilt, turn). The movement should be smooth, not forced. Smooth operation indicates the multi-point locking system is correctly aligned. To understand the mechanics better, read Smooth Moves: A Guide to Tilt Turn Window and Door Hardware. With a functioning frame and hardware, you're ready for sealing and final adjustments.
Perfecting the Seal and Functionality
With the aluminium tilt and turn windows installation physically in place, the final steps are to create a perfect seal and ensure flawless operation. This stage requires attention to detail.
How to Ensure Proper Sealing and Weatherproofing
A proper seal protects your home from drafts, water, and energy loss, safeguarding your investment.

Apply flashing tape starting from the bottom sill and working up the sides, overlapping each piece to direct water away. Ensure the tape makes solid contact with both the rough opening and the frame.
From the inside, carefully fill the gaps between the frame and rough opening with low-expansion spray foam. Use this type of foam to avoid putting pressure on the window frame.
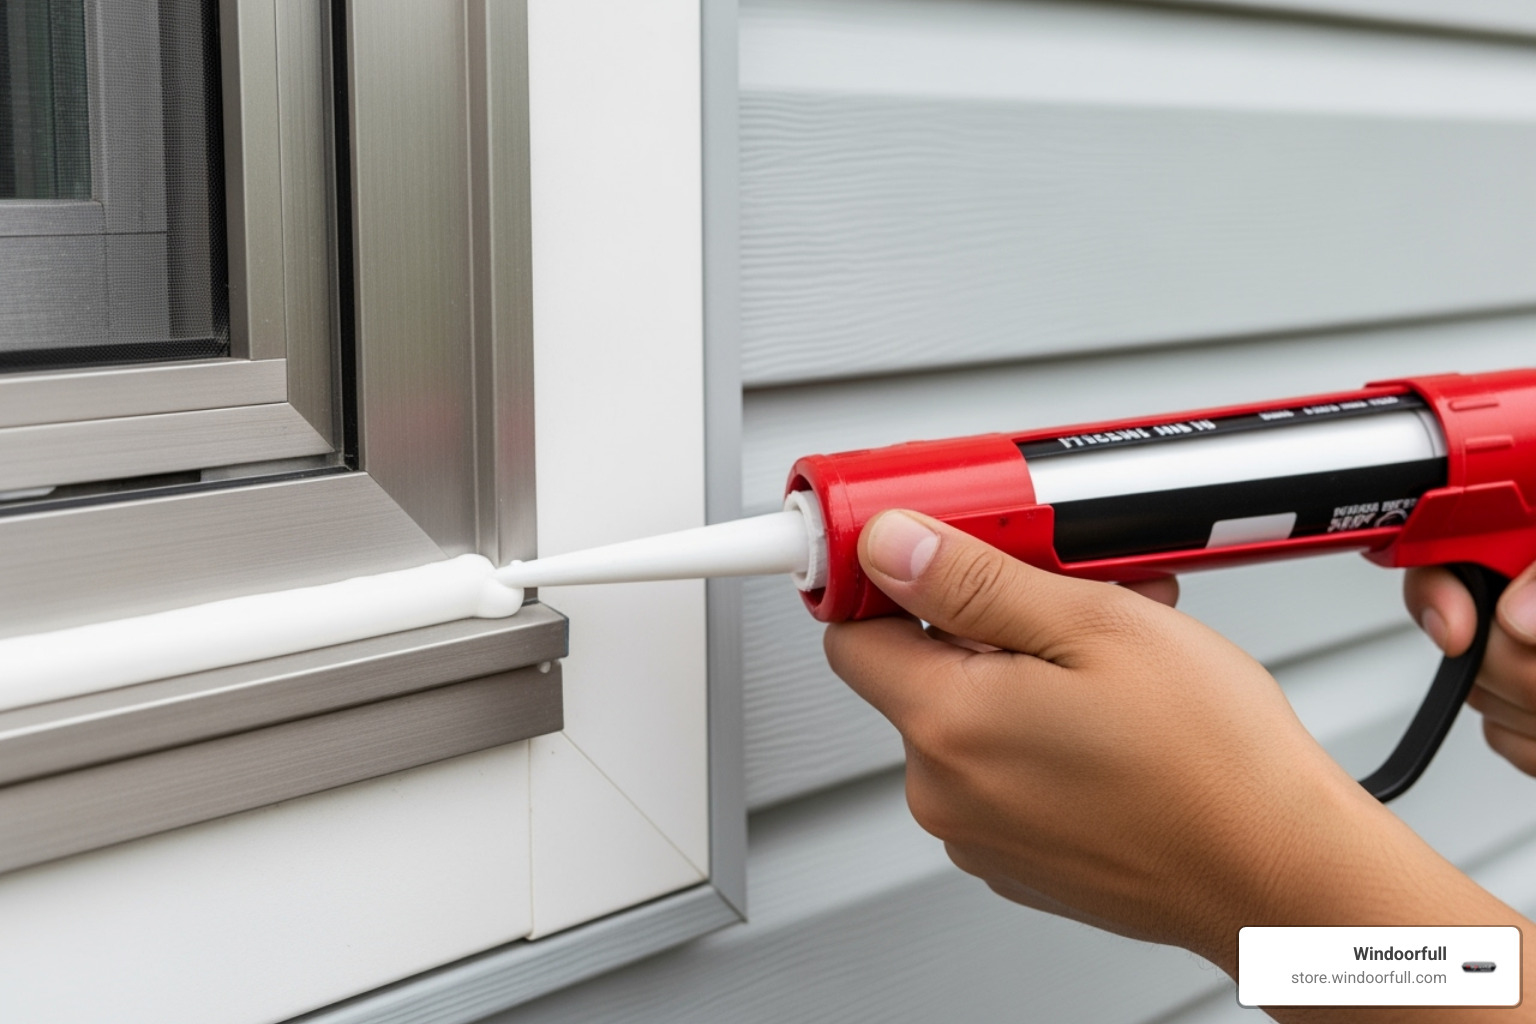
The final defense is an exterior-grade silicone sealant. Apply a continuous bead where the window frame meets the siding. Smooth the caulk line with a damp finger for a clean, water-shedding finish.
Together, the flashing, foam, and sealant create a continuous air and water barrier, which is crucial for achieving the high energy efficiency these windows offer—at least 50% more efficient than ENERGY STAR® requirements. Learn more about their thermal performance in Beyond the Pane: What Makes Tilt and Turn Double Glazing Tick.
Final Checks and Adjustments for Flawless Operation
Now, test that the aluminium tilt and turn windows installation performs as designed.
- Tilt function: Turn the handle to tilt the sash inward. It should move smoothly and feel secure, not wobbly.
- Turn function: Rotate the handle to open the window fully. It should swing effortlessly without scraping the frame.
- Multi-point locking system: Close the window and lock it. You should hear the locking points engage around the frame. This system makes these windows up to three times more secure than typical windows.
- Sash-to-frame seal: Check for a consistent gap all around when locked. A simple test is to close the window on a piece of paper; you should feel resistance when pulling it out.
If you notice binding, uneven gaps, or other issues, use the hardware's three-dimensional adjustment capabilities. With an Allen key, you can make small adjustments up/down, left/right, and in/out. Test after each small change. This final tuning is what ensures a perfect installation and is key to the performance of these advanced windows.
Common Mistakes and Why Precision Matters
Even confident DIYers can make mistakes during an aluminium tilt and turn windows installation. Their sophisticated engineering demands precision, but most errors are avoidable if you know what to watch for.
Top Installation Errors to Avoid
Here are the most common installation errors to avoid:
- Out-of-square frame installation: This is the most critical error. If the frame isn't perfectly square, plumb, and level, the sash will bind, the locks won't engage, and the seals will fail, leading to drafts and leaks.
- Improper sealing: Rushing the sealing process by skipping flashing, using the wrong foam, or applying caulk poorly undermines the window's performance and can lead to water damage.
- Over-tightening fasteners: This can warp the aluminium frame, causing a poor seal and stressing the hardware, which can lead to premature failure.
- Damaging the aluminium finish: Protect the frame's finish during installation to avoid scratches. Use gentle, pH-neutral cleaners for cleanup.
- Forgetting to check operation before final fixing: Always test the tilt and turn functions at each stage of the installation to catch problems before everything is sealed up.
When to Call a Professional for Your Aluminium Tilt and Turn Windows Installation
While DIY is rewarding, sometimes it's smarter to call a professional for an aluminium tilt and turn windows installation. Consider hiring a pro if you encounter:
- Complex hardware adjustments: If you can't get the window to operate smoothly or seal correctly, a professional has the experience to dial in the finicky adjustments.
- Structural issues in the opening: Significant rot, compromised studs, or other major structural problems require a professional's expertise.
- Meeting security standards: To ensure your window meets security standards like PAS 24, a precise professional installation is often necessary. For more information about improved security features, check out Upgrading to PAS 24 for improved security.
- Lack of proper tools: Using the wrong tools can damage the window or compromise the installation.
- Protecting your warranty: Many manufacturers require professional installation to validate the warranty. A pro's labor warranty offers additional peace of mind. A perfect window can fail with a bad installation, so investing in a professional can be a wise choice.
Frequently Asked Questions about Aluminium Tilt and Turn Windows
Here are answers to common questions about aluminium tilt and turn windows installation to help you feel confident in your project.
How does the installation differ from a standard window?
The main difference is the sophisticated multi-point locking hardware and dual-action hinge system. Unlike standard windows with simple locks, a tilt and turn window's single handle operates multiple locking points. This complexity demands that the frame be absolutely perfect—precisely plumb, level, and square. Even a tiny deviation can cause binding or scraping. The precise leveling and adjustment phase is far more involved than for a standard window, as you are fine-tuning a complex mechanism. For a detailed comparison, see Which Window Wins? Tilt and Turn vs. Casement Explained.
What are the main benefits of choosing aluminium for tilt and turn windows?
Aluminium is an excellent choice for tilt and turn windows, offering a blend of performance and modern aesthetics.
- Exceptional strength: Aluminium allows for slimmer frames and larger glass areas, maximizing natural light and views.
- Durability: The material won't rot, rust, or warp, making the frames virtually maintenance-free.
- Energy efficiency: Modern designs with thermal breaks make these windows at least 50% more energy efficient than ENERGY STAR® standards.
- Security and Soundproofing: The combination of a strong frame and multi-point locks makes these windows up to 3x more secure and 80-100% more soundproof than many other window types.
Can I install a tilt and turn window by myself?
The answer depends on your skill and patience. For experienced DIYers with the right tools, it's possible but challenging. The intricate hardware and dual functionality leave little room for error. Perfect leveling and hardware adjustment are non-negotiable and can be time-consuming. Professional installation is strongly recommended if you encounter structural issues, need to meet specific security standards, or want to protect your warranty (as many manufacturers require it). A pro can finish in hours, while a DIYer might take a full day or more. If you're confident, it's a rewarding project. If not, professional installation provides peace of mind and guaranteed results.
Conclusion: Enjoy Your New View
Completing your aluminium tilt and turn windows installation is a major accomplishment. A proper installation open ups the full potential of these remarkable windows, providing a significant upgrade to your home.
Your home is now more secure, thanks to multi-point locking systems that can be three times more secure than standard windows. You've also taken a major leap forward in energy efficiency. With proper sealing, these windows are at least 50% more efficient than ENERGY STAR requirements, which can lower your energy bills and potentially increase your property value.
Finally, enjoy the daily comfort and convenience of secure ventilation with the tilt function and easy cleaning with the turn function.
At Windoorfull, we bring authentic European engineering to American homes at sensible prices. Whether you completed this project yourself or hired a professional, you've made a smart investment in your home's future. These windows blend Old World craftsmanship with New World practicality, and now they're a part of your home.
For more insights into modern window solutions and to explore our high-performance European-style windows and doors, visit us at https://store.windoorfull.com/blogs/news.
Enjoy your new view—you've earned it!
